
Step-by-step guide: How to install wall and ceiling lights
Installing a hardwired light fixture can enhance both the ambiance and functionality of an interior. Whether you're replacing an old light or installing a new one, following the correct procedure will ensure a safe and successful installation. Follow this step-by-step guide:
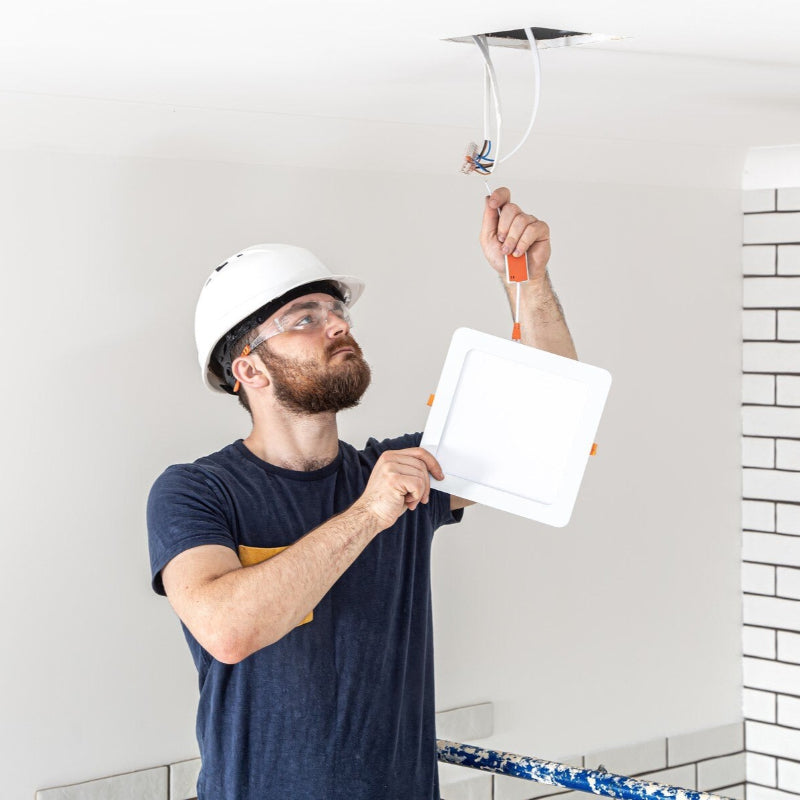
Step 1: Turn off the power
Safety first! Turn off the circuit breaker for the respective circuit and use a voltage tester to confirm that there is no electrical current in the wires.
Step 2: Check the electrical wiring
Check that the existing electrical wiring is in good condition and compatible with the new light fixture. In case of damaged wires, contact a certified electrician.
Step 3: Correct wiring connection
Observe the color coding:
- L (phase, brown/black): brings current to the light fixture
- N (neutral, blue): returns current to the distribution board
- PE (earth, green-yellow): safety earth
Connect the wires using terminal blocks or chocolate blocks and cover with insulating tape.
Step 4: Mounting the light fixture
Drill holes, use wall plugs and attach the mounting plate. Make sure it is secured firmly and stably.
Step 5: Insert bulbs and final check
Choose energy-saving LED bulbs or powerful tri-color light sources. Turn on the power and test the functionality of the light fixture.
Tips for a successful installation:
✔ Follow the manufacturer's instructions
✔ Use insulated tools
✔ If in doubt, call a professional
With this guide, you will be able to install the light fixture yourself and elevate your interior. 💡
0 comments