

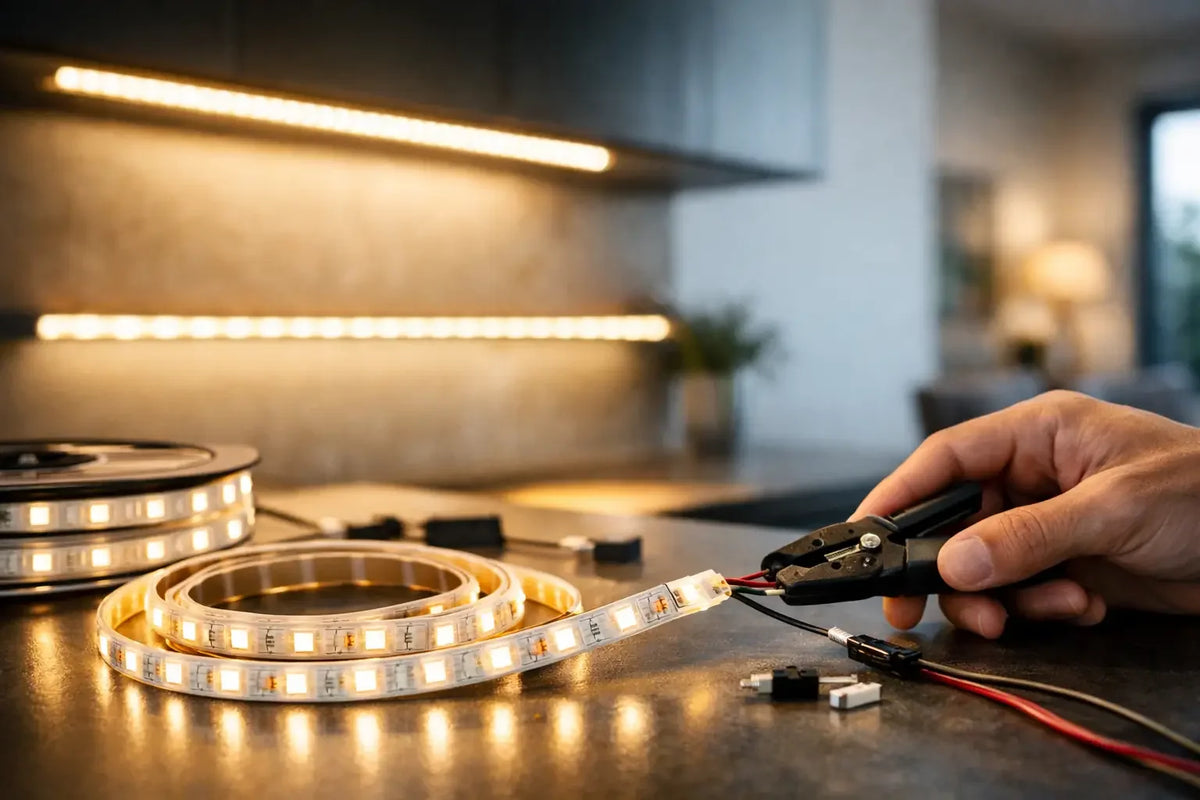
An LED strip can transform an ordinary kitchen counter, gaming nook, or bar into a place with its own energy in just one afternoon. However, installing LED strips isn't just about sticking them on. The result depends on where the light is directed, how heat is dissipated, whether the power supply can handle the output, and how conveniently the control will function. These details determine whether the space gets a clean, designer glow or an uneven line that soon loses its power.
What to clarify before installing LED strips
Start with the effect, not the product. Do you want task lighting above a kitchen counter, indirect ceiling backlighting, accent lighting for a hallway, or a striking highlight for a cafe, salon, or home studio? Each application requires a different intensity, light color, and placement.
For a workspace, stronger, uniform light with accurate color rendering is suitable. In contrast, for a living room, bedroom, or behind a TV, softer, indirect light that doesn't strain the eyes works well. In a display case, the strip can highlight products, while in a studio, it can create a colorful background that looks good on video and photos.
Color temperature is important. Warm white, around 2700 to 3000 K, creates a calm atmosphere and suits wood, textiles, and evening zones. Neutral white, around 4000 K, appears cleaner and more practical, which is why it's often used in kitchens, dressing rooms, and workspaces. Cooler shades have their place mainly where you want a technical or distinctly modern character. RGB and RGBW strips add color, but they are not automatically the best choice for everyday white light. If the strip is to shine frequently and practically, an RGBW variant with a separate white is usually a better investment.
Strip, profile, and diffuser: the trio that makes the result
The most common mistake? Sticking an LED strip directly onto furniture, drywall, or a painted surface and expecting a professional effect. The adhesive holds, but the surface itself doesn't dissipate heat, and individual diodes can be visible as dots. This detracts from both appearance and lifespan.
An aluminum profile acts as both a design frame and a heat sink. It improves heat dissipation, protects the strip, and directs light exactly where you need it. For the underside of a kitchen cabinet, a surface-mounted or corner profile is usually suitable. For a light line recessed into a countertop, furniture, or wall, a recessed profile is appropriate. For ceiling coves and indirect lighting, the angle at which the light hits the surface is the main factor.
The diffuser determines the character of the light. A clear diffuser allows maximum light transmission but can emphasize individual LED dots. A milky diffuser creates a calmer and more continuous line, especially if you use a strip with more closely spaced diodes. For a design-oriented realization, it often pays to choose precisely this combination – a quality profile, a denser strip, and a milky diffuser. The light then doesn't appear as a technical accessory but as a natural part of the interior.
Always dry-fit the strip before gluing. Check the length, cable direction, space for the power supply, and whether the diffuser will fit comfortably. The strip can only be cut at marked points. One bad cut may not destroy the entire installation, but it can unnecessarily add soldering, connectors, and a visible weak point.
The power supply is not an accessory. It is the heart of the entire light.
LED strips are most commonly powered by 12 V or 24 V. For shorter sections, 12 V can be practical, but for longer lines, 24 V is often better. It has lower voltage losses, so the end of the strip doesn't glow significantly weaker than its beginning. This is crucial for long kitchen counters, under-bed lighting, or light frames in commercial interiors.
You can calculate the power supply's wattage simply: multiply the strip's wattage per meter by its length. Add at least a 20 percent reserve to the result. If the strip is 10 W per meter and you install five meters, the consumption is 50 W. Therefore, the power supply should be at least 60 W, ideally with a reasonable extra reserve. A power supply that continuously operates at its limit heats up more and shortens the lifespan of the entire assembly.
Do not enclose the power supply in a small, unventilated cavity. It must have space for cooling and also remain accessible for potential servicing. For bathrooms, outdoor installations, and areas with higher humidity, it is necessary to address appropriate IP rating. A dry living room has different requirements than a pergola, the area around a sink, or a bathroom mirror. It is not worth improvising here – safety and long lifespan take precedence over quick installation.
Wiring, control, and smart scenarios
A single-color LED strip can be controlled by a simple switch, dimmer, or remote control. If you want to change the light according to mood, time, or room function, a smart controller makes sense. With one mode, you turn on bright white for work; with another, you dim the intensity for an evening movie; and with a third, you activate a color effect for a celebration or content creation.
For longer strips, plan the power supply carefully. If you only run current from one end over too long a section, a drop in brightness or a change in tint may occur. The solution is to power from both ends, or divide it into shorter, separate branches. Technically, it's a minor detail, but visually, the difference between amateur and cleanly executed lighting is immediately apparent.
Plan your cables before closing the profile or gluing the strip. An ideal installation showcases the light, not its technical background. Hide the power supply behind furniture, in a channel, under a structure, or in a prepared groove. For rentals where you don't want to interfere with walls, discreet surface-mounted cable channels in the color of the furniture or wall can work.
How to perform a clean installation step-by-step
First, measure the route and verify the location of the outlet or prepared wiring. Then clean the mounting surface of dust and grease. Cut the profile to the desired length, secure it, and prepare the cabling. Only then stick the strip into the profile – straight, without stretching, and without sharp bends.
Always perform a test before attaching the cover. Check polarity, color, dimmer response, and uniform brightness along the entire length. It is much more pleasant to fix a connection before the final snap-on than to dismantle a finished assembly. After testing, attach the diffuser, end caps, and examine the light in the evening. Only in the dark will it become clear if the strip is shining too directly into your eyes and if it creates unwanted reflections on glossy surfaces.
When it makes sense to entrust installation to professionals
A careful DIY enthusiast can handle simple shelf backlighting. For built-in furniture, ceiling coves, bathrooms, long runs, or commercial premises, it is advisable to involve experienced installers. This is not just about safe electrical connection, but also about the composition of light. In a restaurant or salon, a poorly directed strip can disturb guests, while a well-designed lighting line will enhance the interior, create a photogenic spot, and boost brand memorability.
AtmoSvetla can prepare lighting solutions from design to implementation and provides turnkey installation throughout the Czech Republic. It is advisable to confirm specific installation options before paying for the order, especially for custom projects, non-standard materials, and more complex electrical installations.
Light should function even after the initial 'wow' reaction. When you pre-consider the purpose, profile, power supply, and control, the LED strip won't just illuminate – it will create precisely the atmosphere you wanted for the space.
Content Note: This text was created with the support of a neural network and subsequently edited for brand needs.