

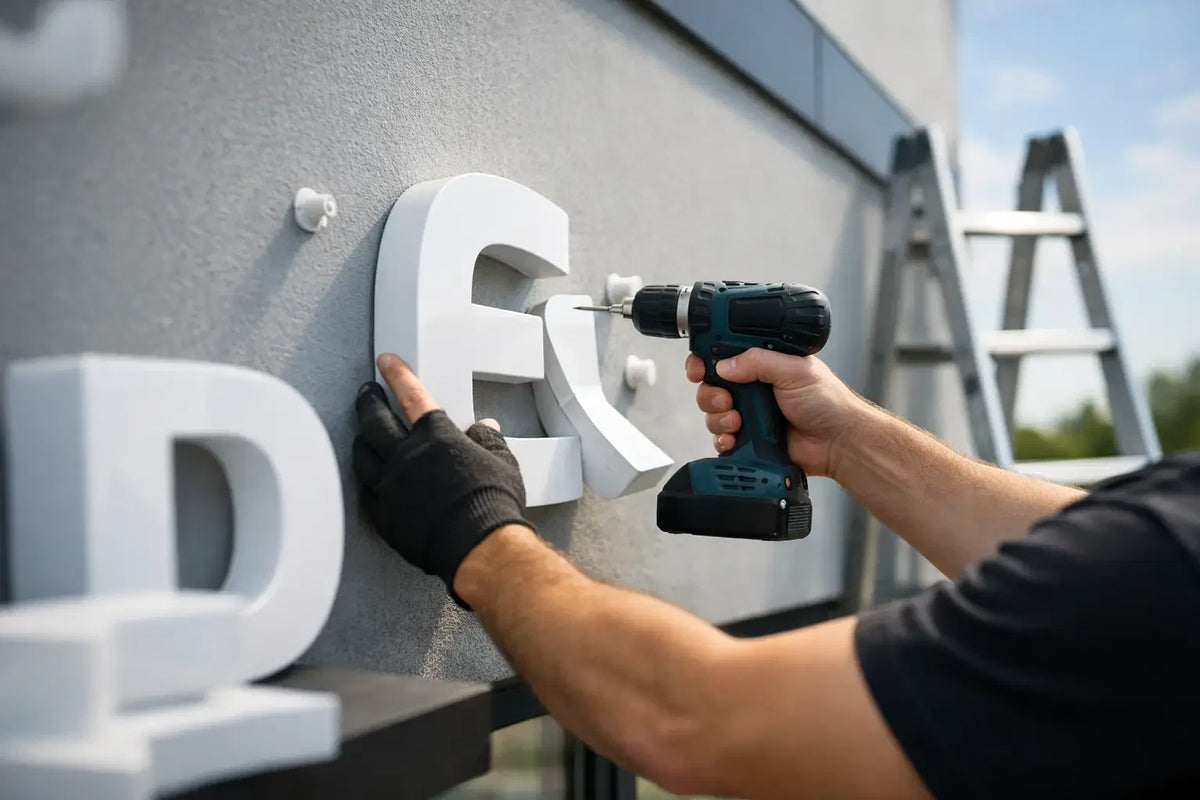
The shop window is ready, the interior has style, and the logo is already awaiting production. However, it is the installation that determines whether the sign will act as a thoughtful signature of the brand or look like an ordinary sign. How do you attach 3D letters so that they stay secure, are perfectly level, and stand out on the wall? The key is not just the right glue or dowel. The material of the substrate, the weight of the letters, the method of backlighting, and a carefully prepared template are all decisive factors.
A 3D sign can change a reception, cafe, salon, or facade in just a few hours. To ensure its effect lasts for years, it pays to proceed precisely and not skip the preparation. For illuminated letters, safely hidden wiring is also part of the installation.
First read the wall, not the instructions
The same 3D letters are mounted differently on solid brick, differently on drywall, and completely differently on an insulated facade. Before you pick up a drill, find out what is beneath the surface. Simply tapping, checking the building documentation, or making a test drill in a less visible spot is enough.
High-quality nylon dowels with screws or threaded rods anchored with chemical mortar usually work on concrete and solid brick. For hollow bricks, you need an anchoring system designed for hollow materials, otherwise, the joint may wobble over time. Drywall can support light plastic or acrylic letters, but for a larger logo, it is necessary to find a load-bearing profile or prepare reinforcement behind the board.
An insulated facade requires the most attention. A standard dowel in polystyrene will not hold a heavier sign and can also damage the insulation. Distance mounting elements with thermal bridge breaks are used, which lead the anchoring into the load-bearing masonry. It does not pay to improvise with exteriors - wind, rain, frost, and sun will test every shortcut.
How to attach 3D letters based on their type
The installation method must be adapted to the construction of the sign. Light, non-illuminated letters made of PVC or acrylic can often be glued. Metal, larger plastic, and backlit letters are generally anchored mechanically. Sometimes both procedures are combined so that the joint holds well and the installation remains visually clean.
Gluing for light indoor letters
Mounting glue or high-quality double-sided foam tape is a quick way for small decorative signs on a smooth, firm, and degreased wall. The substrate must not be dusty, greasy, chalky, or freshly painted. The paint must be perfectly cured; otherwise, its layer may be torn off along with the letter.
Apply the glue in dots or thin strips so that it does not spill over the edges. Press the letter into the correct position, hold it according to the manufacturer's instructions, and remove any excess glue immediately. Gluing is not ideal for rough plaster, outdoor signs exposed to the weather, or letters with greater depth and weight.
Studs and threaded rods for a clean 3D effect
The cleanest result is created by stud mounting. Metal rods protrude from the back of the letters, for which holes are drilled into the wall according to the template. The letter is inserted into the holes and, if necessary, secured with glue or a chemical anchor. No screws are visible from the front.
This method is suitable for stainless steel, aluminum, acrylic, and stronger plastic letters. If you want the sign to protrude slightly from the surface, spacer washers are used. This creates an elegant shadow gap that gives the logo depth even without light.
Installation of backlit letters
Backlit 3D letters require secure anchoring and a plan for the wiring before drilling. The wires can lead directly through the wall behind the individual letters, or be hidden in an installation rail or backplate. It depends on the logo design and whether it is for an interior, a window, or a facade.
The power supply must remain accessible for potential service, while also protected from moisture and accidental interference. For outdoor installations, use components with appropriate protection ratings and grommets that prevent water ingress. Entrust the connection to the electrical network to a qualified electrician. The light effect should be flawless, not a source of risk.
The template is the difference between precision and patching holes
Never place letters by eye, even if it is just a short name. A millimeter discrepancy between characters is surprisingly quickly visible on the finished sign, especially with side lighting. The production template shows the exact position of the letters, drilling points, and cable passages.
First, mark the center of the future sign and a horizontal reference line using a laser or a long spirit level. Stick the template on with painter's tape, check the height from several meters away, and only then mark the holes. For a logo above a reception, look at the composition from the place where visitors will see it most often. For a facade, increase the distance - a sign that looks correct from the sidewalk by the wall may appear too low or sunken from across the street.
Before drilling, check the spelling, the order of characters, and the orientation of individual parts one more time. It sounds banal, but this check saves the most time and money.
An installation process that keeps the sign in one line
Prepare a template, tape measure, spirit level, drill with a suitable bit, vacuum or dust pump, anchoring material, and a clean rag. In the case of gluing, add a degreaser recommended for the surface. For illuminated letters, also prepare a power plan and check where existing wiring runs in the wall.
After marking the holes, drill perpendicular to the wall. Adjust the hole depth to the length of the dowel or stud, and don't forget a margin for dust. Clean the holes thoroughly - especially with chemical anchors, dust is a common reason for a weakened joint. Subsequently, set the anchors, pull through the cables, and start installing from the center of the sign outwards. This makes it easier to maintain spacing and the overall composition.
Check each letter for alignment after it is set. For backlit versions, perform a light test before finally finishing the covers, joints, or backplate. Only after verifying the glow, color, and uniformity of the halo effect does it make sense to complete the installation.
What to avoid during installation
The most common mistake is choosing anchoring based only on what is currently in the workshop. A dowel suitable for concrete is not automatically safe in a hollow partition, and strong glue will not fix uneven, damp plaster. Another problem is often too little distance from the ceiling, window frame, or surrounding lighting. The sign needs visual space around it to truly shine.
Also, beware of rushing after rain or at low temperatures. Some glues and sealants will not cure properly outside the recommended temperature range. For a facade, the substrate must not be wet. And if you are mounting larger letters at a height, do not underestimate safe scaffolding or a platform - the accuracy of the installation and the safety of the team are more important than speed.
When it is better to call in an installation team
A careful DIYer with the right template can handle a smaller interior sign without electrical wiring. However, professional installation pays off for heavy metal letters, insulated facades, commercial premises with limited access, and all lighting projects. It is not just about drilling. An experienced team will solve spacing, hidden cables, anchoring according to the material, and the final view from the customer's perspective.
For custom AtmoSvetla projects, turn-key installation can be arranged throughout the Czech Republic. It is advisable to confirm specific installation conditions before payment, especially for facades, high-altitude work, and more complex electrical installations.
Well-mounted 3D letters are not just door signs. They are dimension, light, and character working for your space every day. Give them a solid foundation, a precise position, and enough space so that your brand is not just seen on the wall, but actually remembered by people.